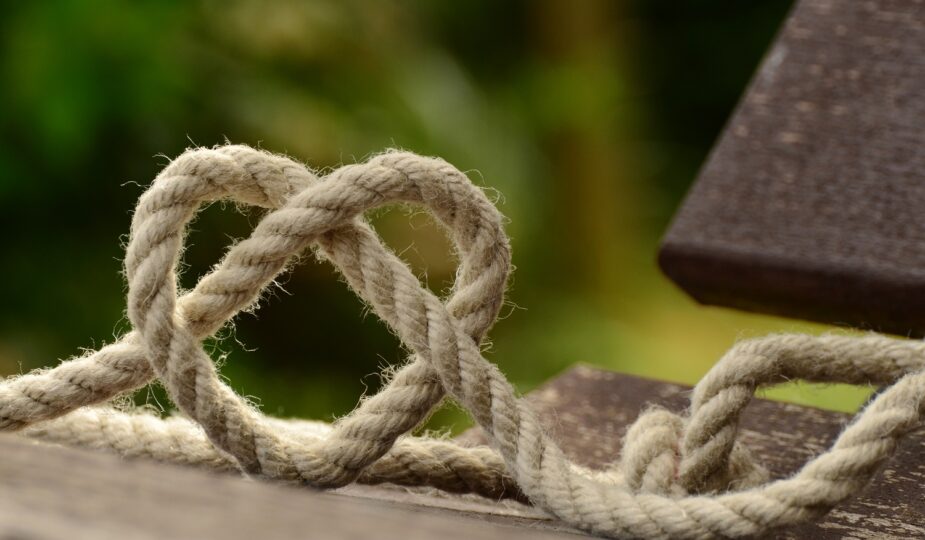
Beadwork that involves tying knots between individual beads has a deep historical root, and the methods will not go away soon. To keep the beads from scratching or otherwise damaging one another, knots are often strung between them.
Pearls and gemstones, particularly vulnerable to everyday wear and tear, benefit significantly from this precaution during production. In addition, knotting the space between beads prevents beads from falling out. If a strand breaks, only the beads on either side of the gap will fall out. Read more resources on beading here.
The versatility of knotting means that you can use beads of any shape or size and any cord that passes through their holes. Single, double, or even multiple strands of the cord can be used to tie any knot between beads. When choosing the right jewelry for knotting styles, consider the size and shape of the beads, as well as the desired knotting pattern. The size of the bead hole sets the maximum number of cord strands.
How to Pre-Stretch Silk Cord for Jewelry-Making
Both spooled and carded silk cords need to be stretched before use. Pre-stretching the cord eliminates the risk of stretching out of shape over time. If you don’t do this, the beads and knots in your finished piece of knotted jewelry will likely become loose and unattractive. The kinks in carded silk are also eliminated through prestretching. Fine jewelry can incorporate a variety of knotting styles, such as the macrame knot, the square knot, and the sliding knot, to create unique and elegant designs.
Multiply the desired cord length by 4, then round up to the nearest yard. It is important to remember that the length of the cord used for attaching the weight and the hanger during pre-stretching with weight will not stretch and should not be factored into the total cord required for your knotting project.
Working with Spooled or Carded Silk

The best way to stretch carded silk is with a needle attached; this method is quick and easy for stretching spooled silk.
First, you should soak the required amount of silk cord in a container of cold water. Then, gently squeeze out the excess water to prevent the cord from dripping.
Two, gently stretch the silk cord by squeezing it and pulling it with a clean white towel, undyed paper towels, or your clean hands.
Third, dry the silk by hanging it. It can be draped over a plastic hanger, rust-proof shower rod, closet rod, or hung from pushpins on a bulletin board.
How to Stretch Spooled Silk Using Weight
Although this technique for stretching silk cords takes more time, it yields the best results when working with spooled silk.
The first step in knotting silk cords is completely submerging the desired length in a bowl of cold water. Next, remove any excess moisture from the cord by squeezing it.
Second, use two square knots to attach a weight to one end of the wet cord, such as a butter knife or a pair of scissors.
Third, use two more square knots to attach the other end of the wet cord to the plastic hanger. Please do not hang your silk from a metal hanger, as the rust from the hook could transfer to the rope and discolor it.
Step four: suspend the silk by its weight from a doorframe or other high location and let it dry overnight.
5. Remove the weight from the hanger and cut the silk cord once it is dry. Throw away the unused pieces. Put the silk rope you just stretched on a bobbin.
Basic Knotting
To secure individual beads, you can use the overhand or square knot. Mastering the overhand is crucial for all knots because it is used so frequently. In addition, the square knot is significant, albeit rarely used. Knotting styles for jewelry-making can be used to create unique and personalized jewelry gift ideas for loved ones. You can tie these knots by hand or with one of the provided tools. How these knots should be used is detailed in each method.
The Overhand Knot
The most common knot used when tying beads together is an overhand knot, which can be tied with any tool. Overhand knots can be tied with the cord in various ways, but the knot remains consistent regardless of how it is held. Figure out a way to hold the cord that allows you to tie perfect knots every time.
The Square Knot
Most bead tips can only be securely knotted using a square knot. However, adjustable fasteners can also be created with square knots.
Additional Techniques for Cord Ends
Bead tips are used to begin and end knotted jewelry creations on thin cords properly. Bead tips serve to reinforce and shield the beginning and end knots. Knotting styles can be used to create a variety of wardrobe accessories, such as necklaces, bracelets, and earrings, from simple to elaborate. Moreover, they provide a polished final touch to handmade knotted jewelry items. Bead tips can be found in numerous metals, designs, and dimensions.
How Do You Attach A Basket Bead Tip?
Knotted pearl necklaces are often finished with clasps made from basket bead tips. For handling extremely delicate cords, they are a must-have. They function like tiny baskets to keep the knots in place. Finally, the clasp is fastened to the bead tip via its “handle,” or hook.
1. Thread the needle and secure the ends with an overhand knot.
2. After you’ve finished threading your first bead tip, place the knot in the bead tip’s basket.
3. Dab glue on the knot. Gently pull it in place.
4. String your beads, and then use any available knotting techniques to secure the strings together to make silver split rings.
5. When you’re done knotting, thread the second one into your project, so the final knot you made is inside its basket.
6. Secure everything with your choice of a knot.